Core Animation一直是iOS比较有意思的一个主题,使用Core Animation可以实现非常平滑的炫酷动画。Core animtion的API是较高级的封装,使用便捷,使得我们免于自己使用OpenGL实现动画。本文主要介绍如何使用CALayer的mask实现一个双向注水动画(姑且这么叫吧)。
了解CALayer的mask
1 | /* A layer whose alpha channel is used as a mask to select between the |
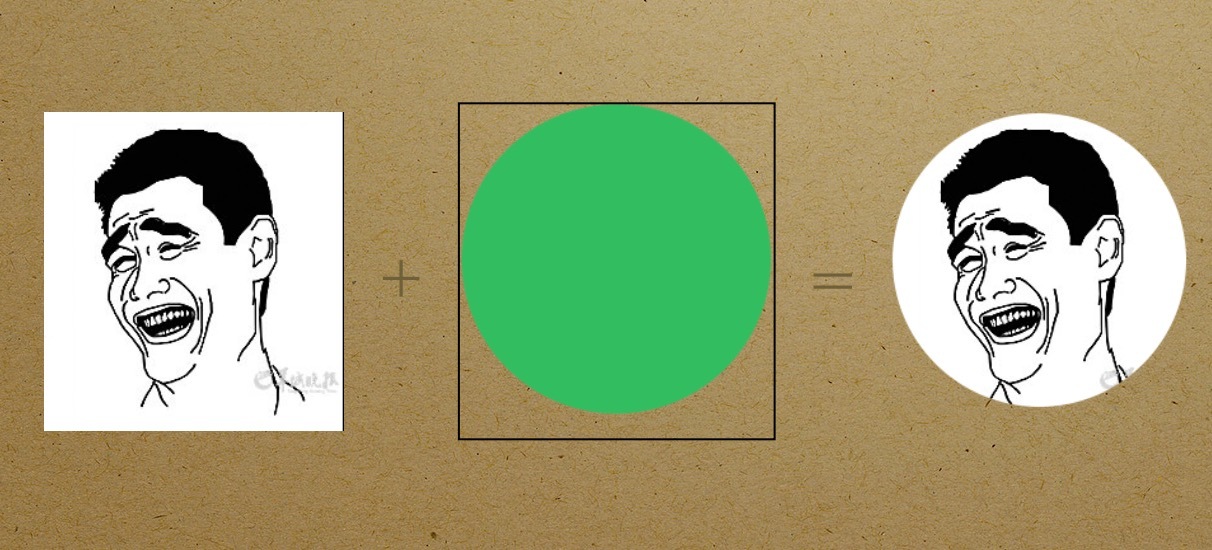
以上是CALayer的头文件关于mask的说明,mask实际上layer内容的一个遮罩,如果我们把mask是透明的,实际看到的layer是完全透明的,也就是说只有mask的内容不透明的部分和layer叠加的部分才会显示出来,效果如下:
实现思路
设计的思路参考《基于Core Animation的KTV歌词视图的平滑实现》,Facebook Shimmer。
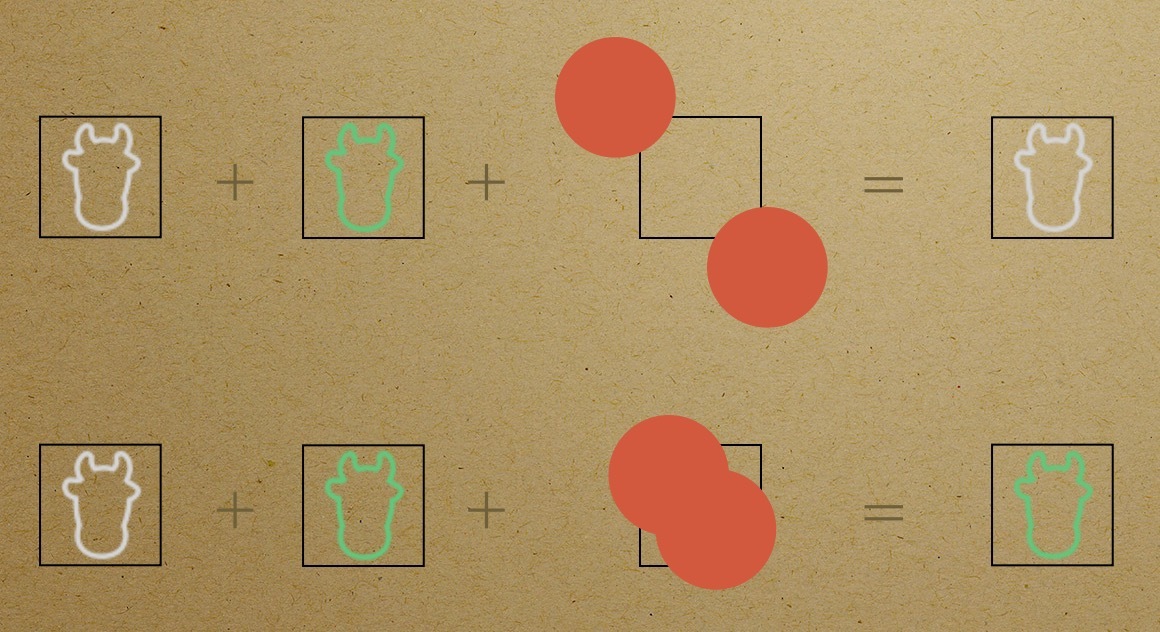
在View上重叠放置两个UIImageView: grayHead&greenHead,默认greenHead会遮挡住grayHead。为greenHead设置一个mask,这个mask不是普通的mask,它由两个subLayer:maskLayerUp``maskLayerDown组成。默认情况下,subLayer都显示在mask内容之外,此时mask实际上透明的,由此greenHead也是透明的。现在我们希望greenHead从左上角和右下角慢慢显示内容,那么我们只需要从两个方向为greenHead填充内容就可以了。
###代码片段
- 创建
mask
1 | - (CALayer *)greenHeadMaskLayer |
- 做动画
1 | - (void)startGreenHeadAnimation |
小结
CALayer提供另外一种操作UI的手段,虽然它提供的API比UIView较底层,但它能提供更加丰富的功能和更高的性能(CALayer的动画是在专门的线程渲染的)。涉及到复杂且性能要求高的UI界面,CALayer的作用就比较明显了,比如AsyncDisplayKit。通过本片文章,我们其实也能看出(这里是严重错误的)CALayer的一个用处,通常我们处理圆角时会直接去修改CALayer的cornerRadius,但这种做法性能比较差,尤其是放在列表里的时候,现在我们有了mask,这样我们可以直接改变layer的mask,而不会影响到图形渲染的性能。